Herman's Log...

The introduction of the A day in the life topic reads...

schwim wrote:

So I don't clog up our car photos topic, I thought it would be interesting to start a topic to share an image taken during the course of our day that might be funny or just interesting in nature...

Instead of keep on abusing that topic with Bug related stuff I'll report my latest efforts here.

What is it about Herman? Well, back in '90 we had three Bugs on our yard...
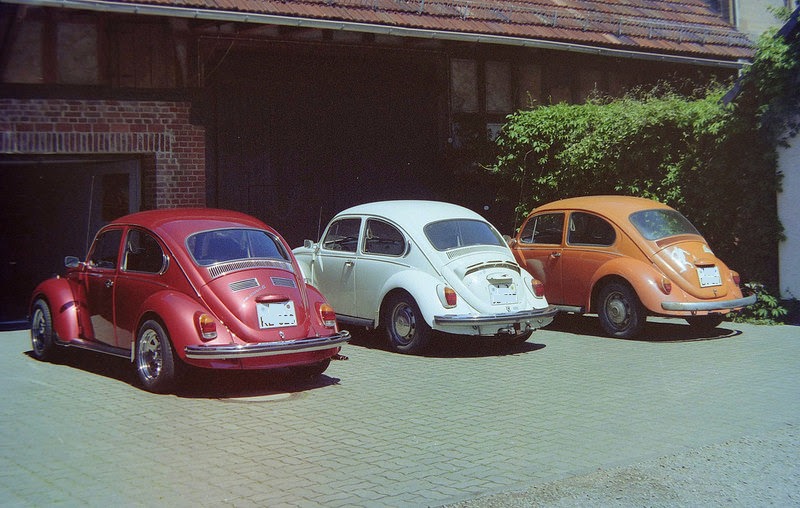
For the sake of convenience we used to refer to my 1302 as "the red".
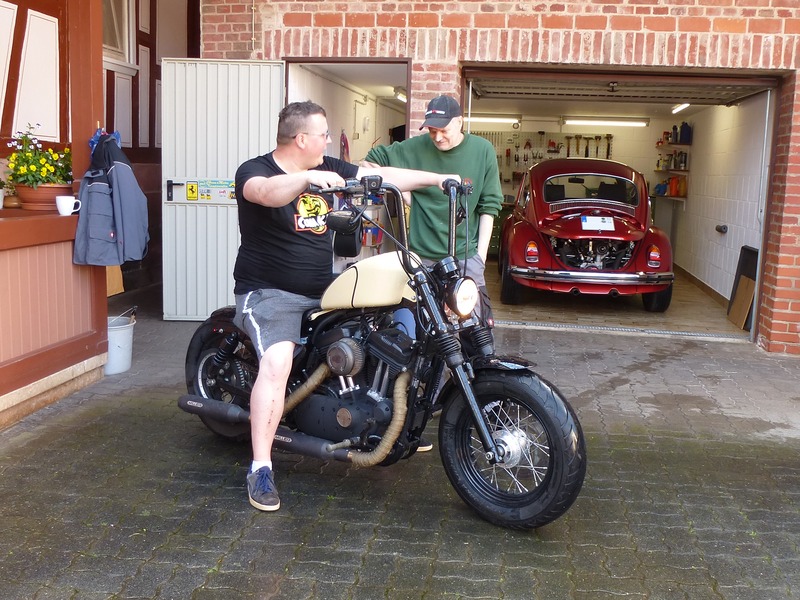
But actually his nick is Hermann - essentially inspired by Mr. Munster (Fred Gwynne).

IMHO Super Bugs are sort of Frankenbugs ex Factory, aren't they? :)

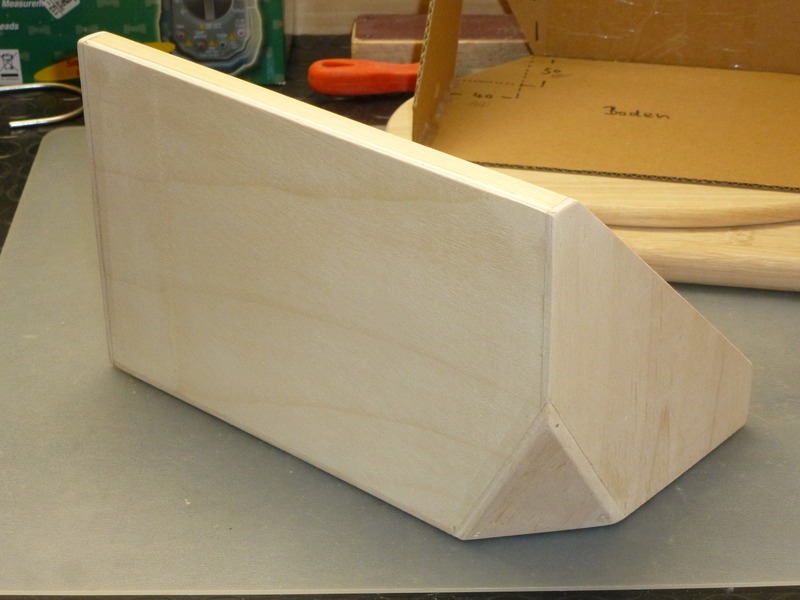
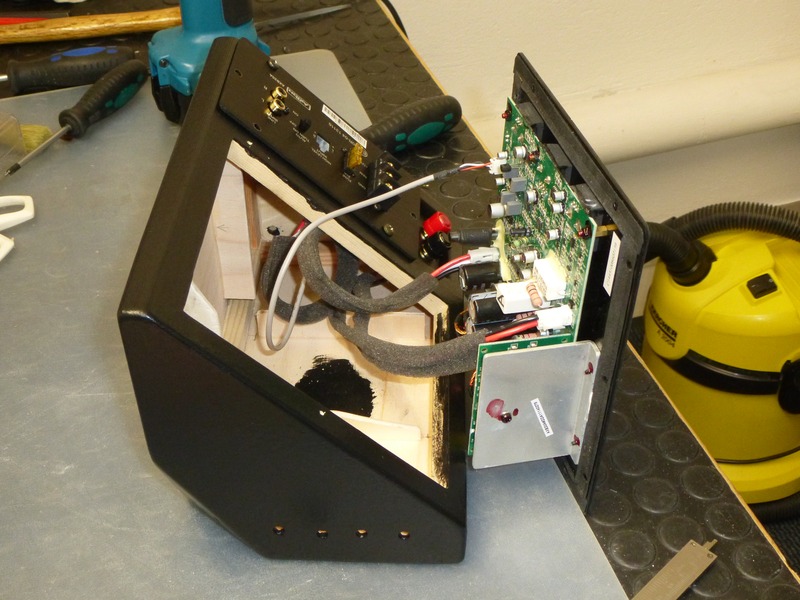
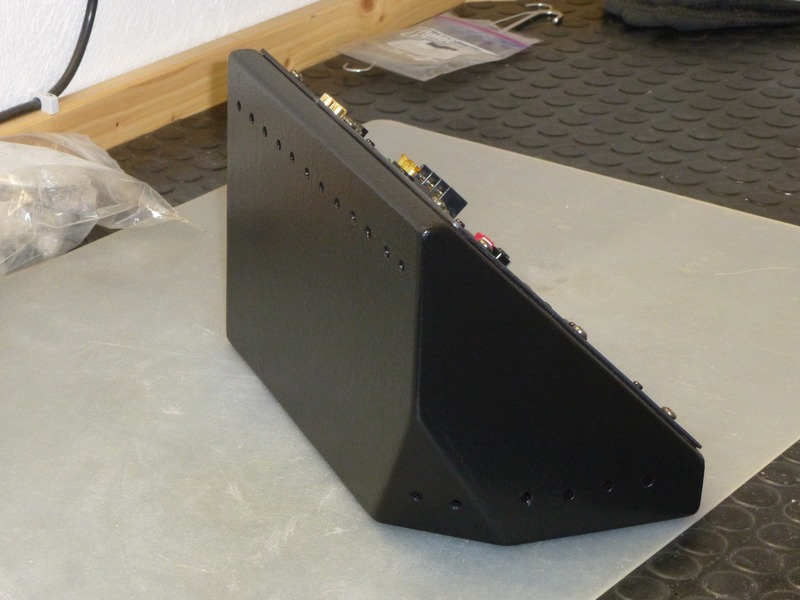
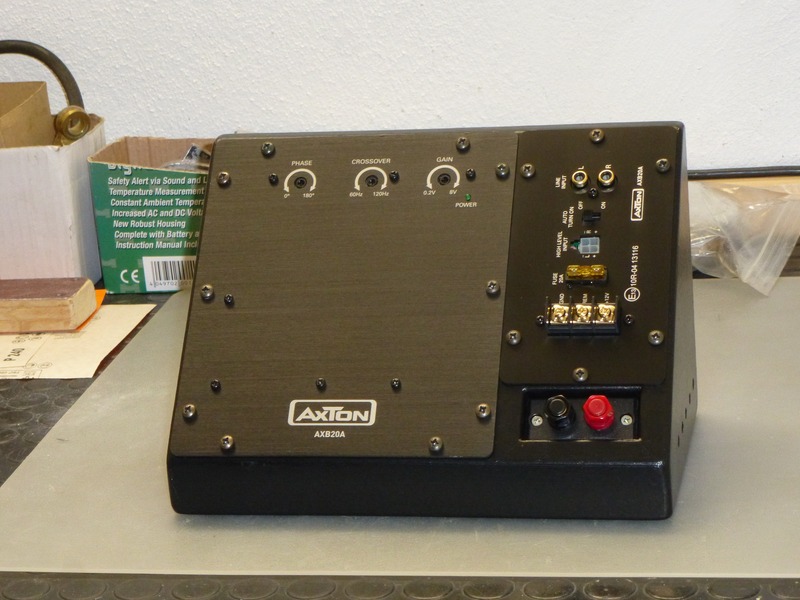
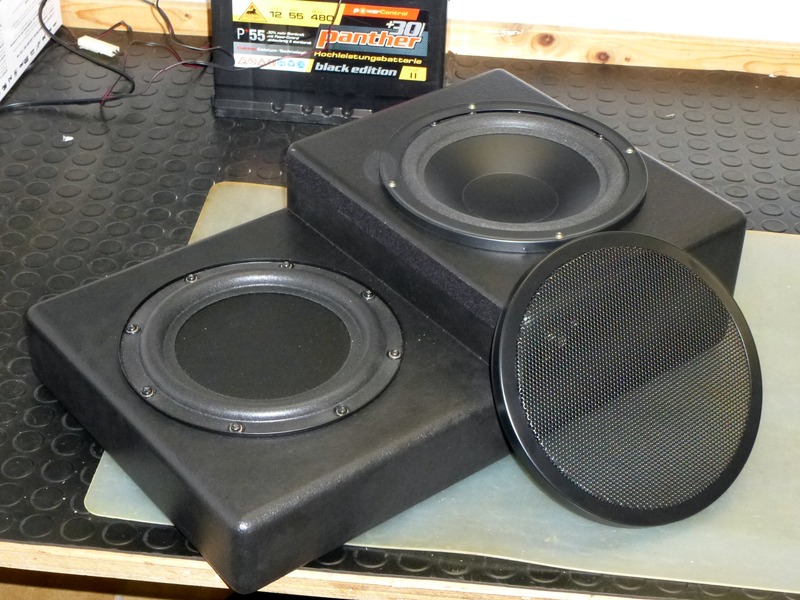
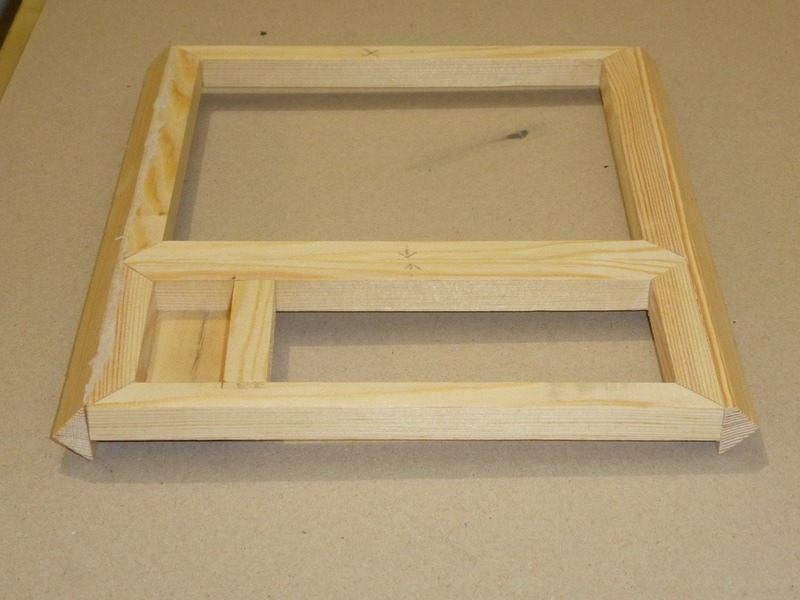
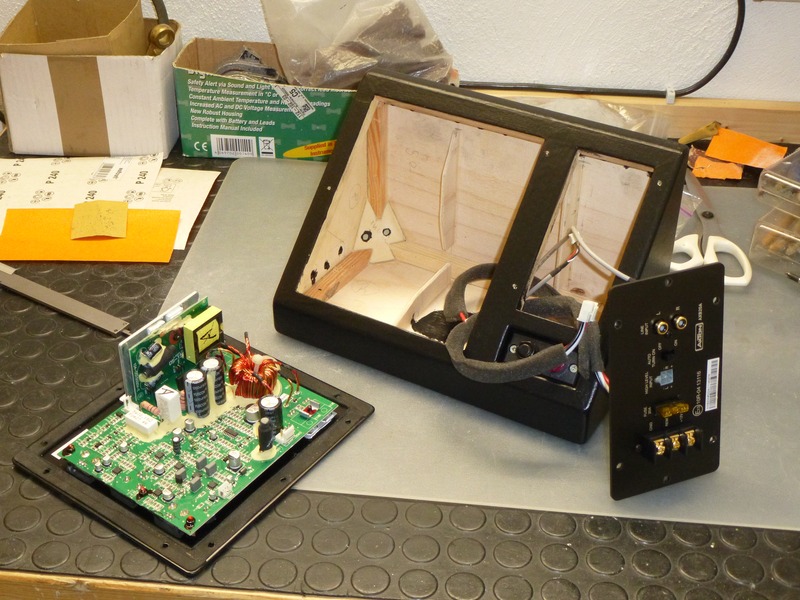
Anyway, here we go, some progress with the woofer amp case...

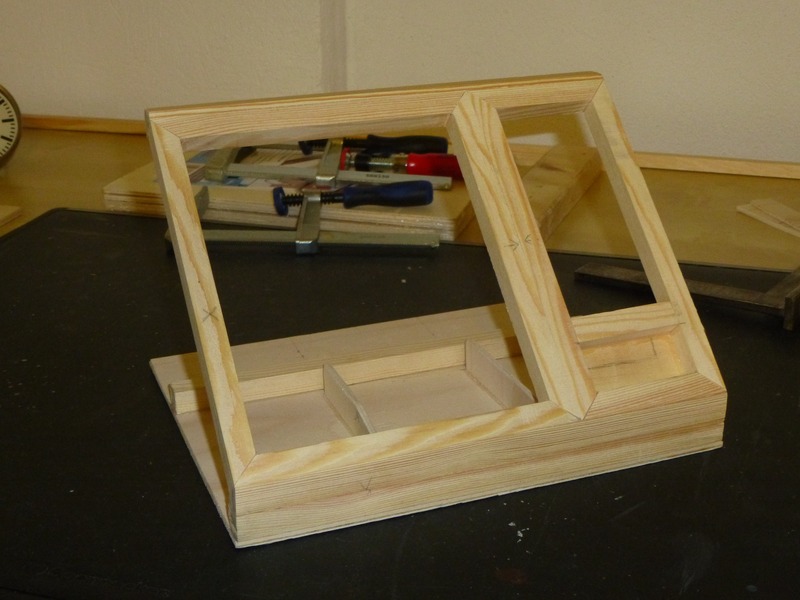
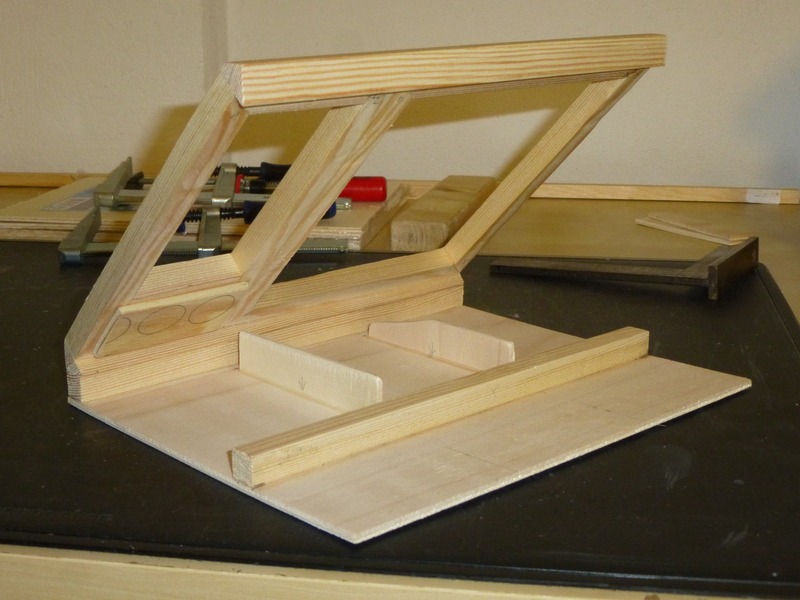
Framework...
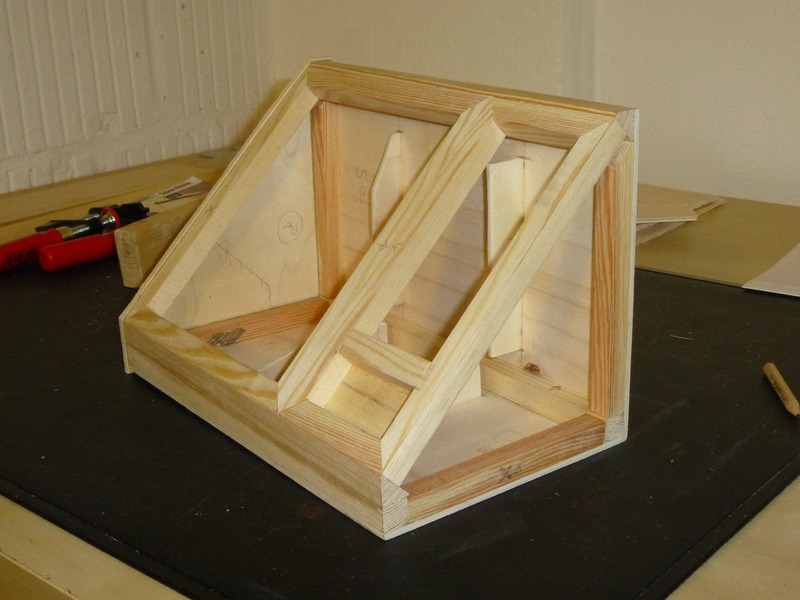
Cladding...
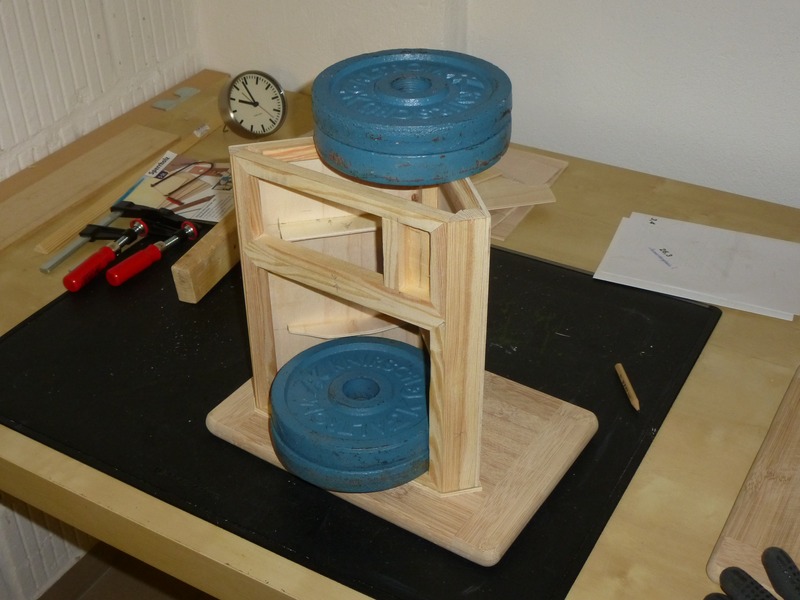
Some trimming...
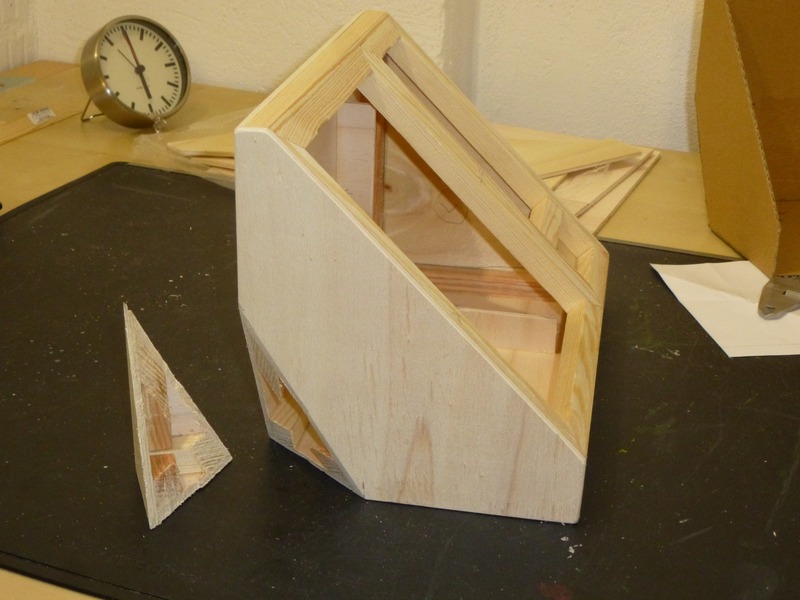
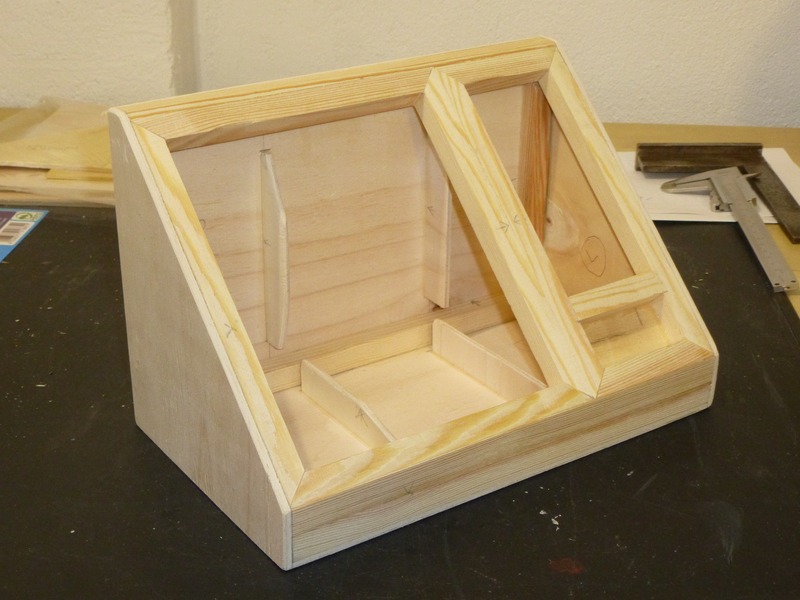
It fits snugly...
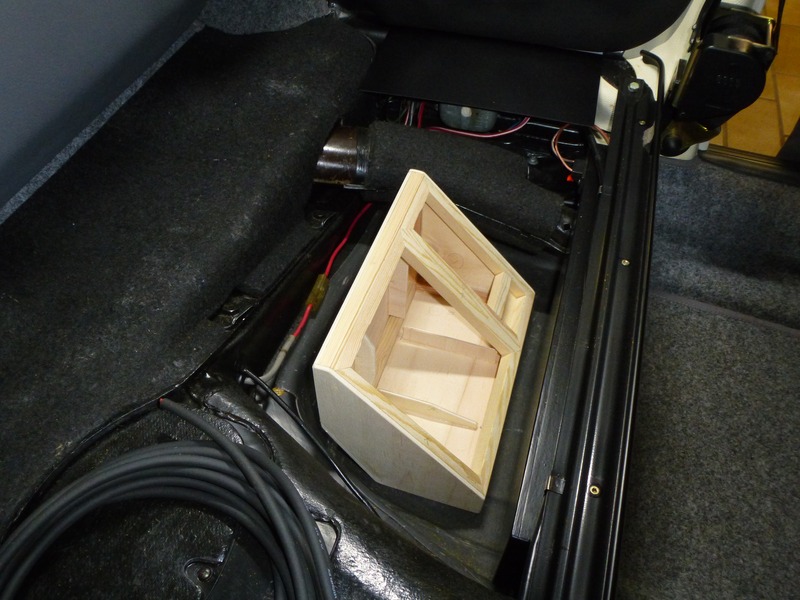
Getting the terminal and amp modules in...
Finally there is the little black box...
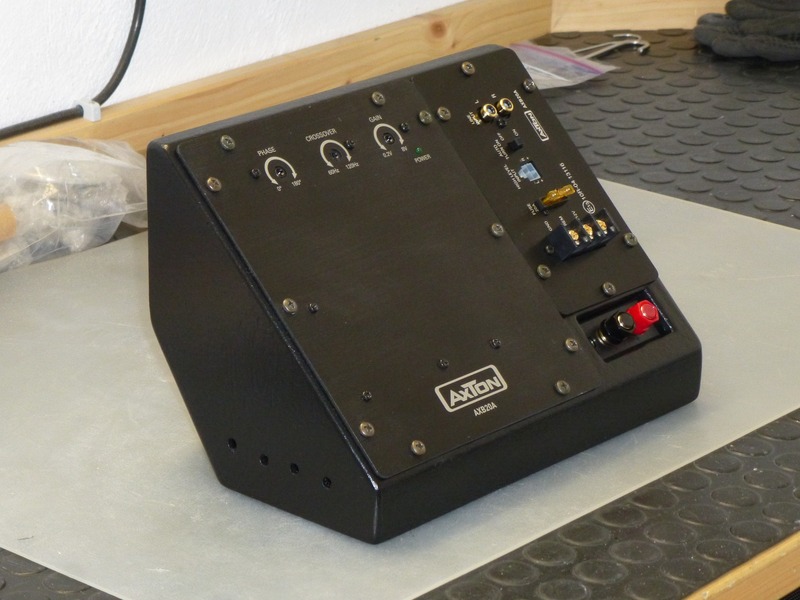
Wow, that's just gorgeous work man. What an incredible job you did. Was that an existing amp you had that you made the box for or did you frankenstein(Hermanize) a bunch of parts to make what you want?

Ha! "Hermanizing" - that's what is it all about. I like your neologism! :)

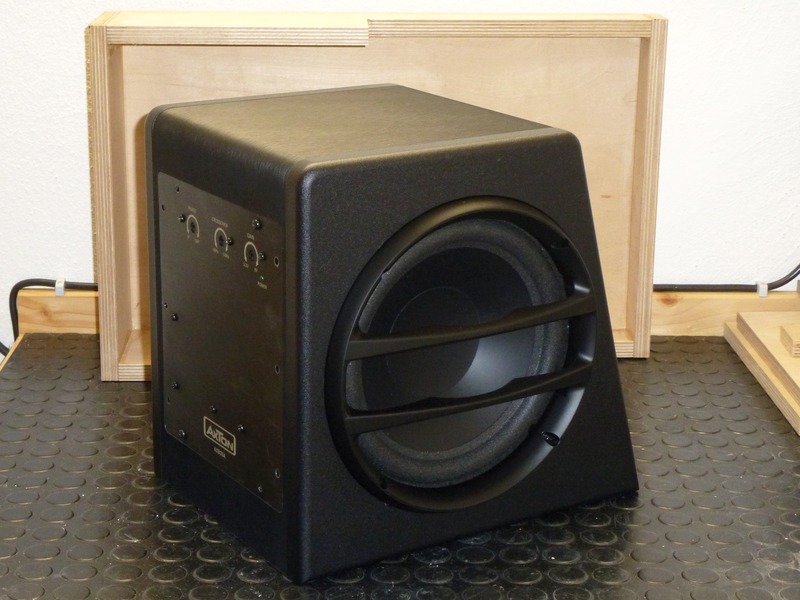
This is what I had...

Although this woofer is small and would fit the rear luggage area of the Bug I wanted a more stealth solution.
So I "hermanized" these out of it...
Goes under the passenger seat...
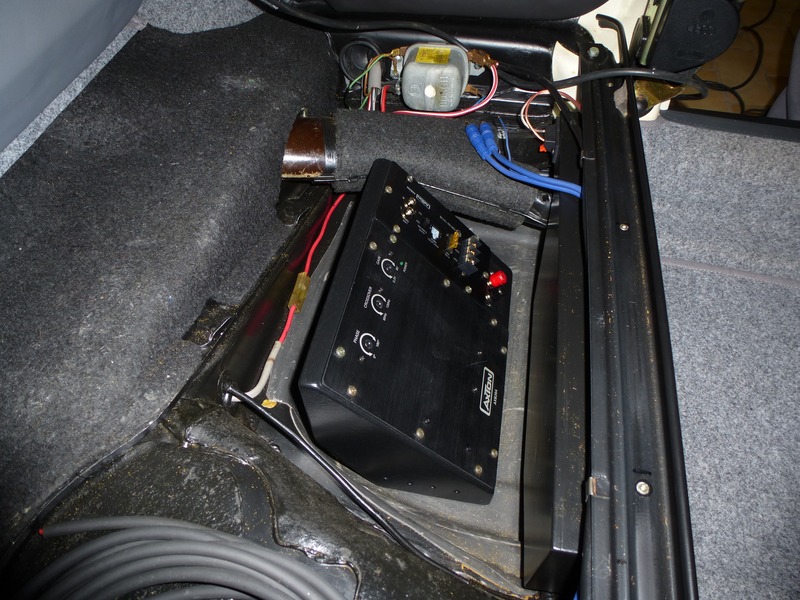
Goes under the rear seat...

Put the amp in and checked out its basic wiring...

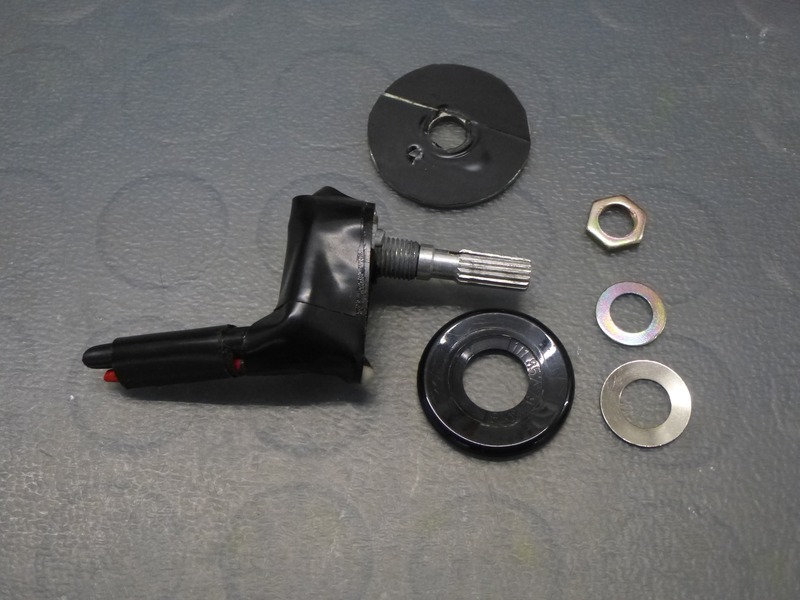
But with 3°C (38°F) in the garage I decided to postpone the amp wiring. Instead I only removed this device...

Actually it's not a cigarette lighter but a disguised rotary potentiometer...

Back in the early 90s it served as volume control for a Discman that was connected directly to an amp in the trunk.
Later with the Becker car stereo that pot was obsolete and I simply cut the cords off and forgot about it.
Now with the new woofer set up I'll use it as an additional gain control for the woofer amp.
So I can easily adjust the bass level while driving.
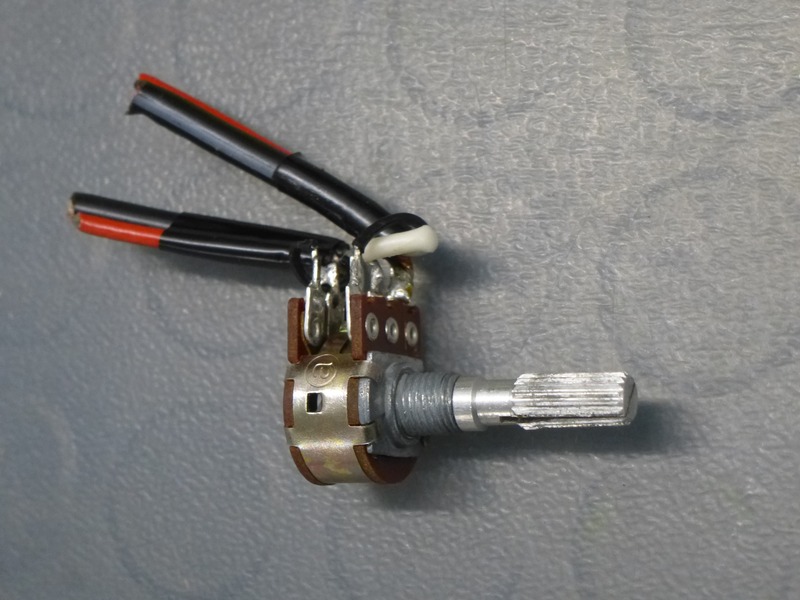
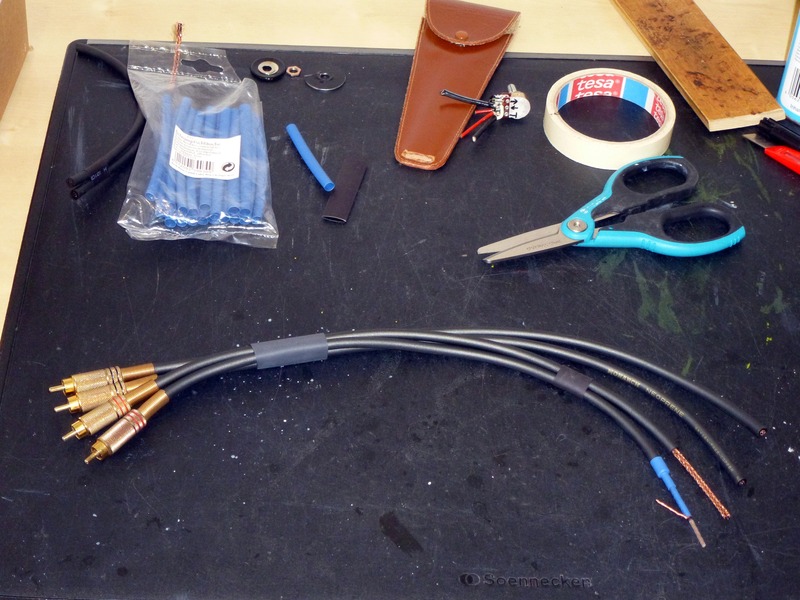
Downside is I have to add new cords and soldering these coaxial cables is a PITA at times...

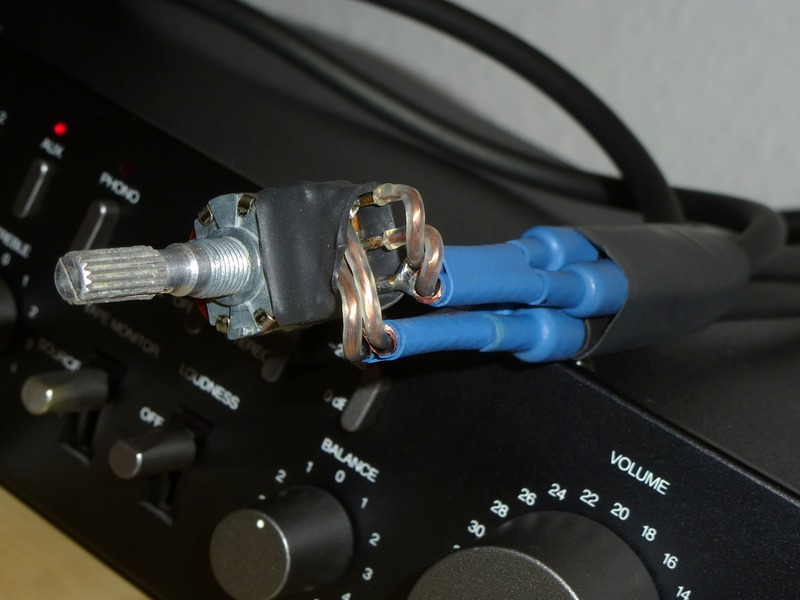
After the coaxial cables were soldered to the rotary potentiometer I looped it into the "office hi-fi" for a test.
Thankfully volume control worked very well...

Then installed the little device back into the dashboard...

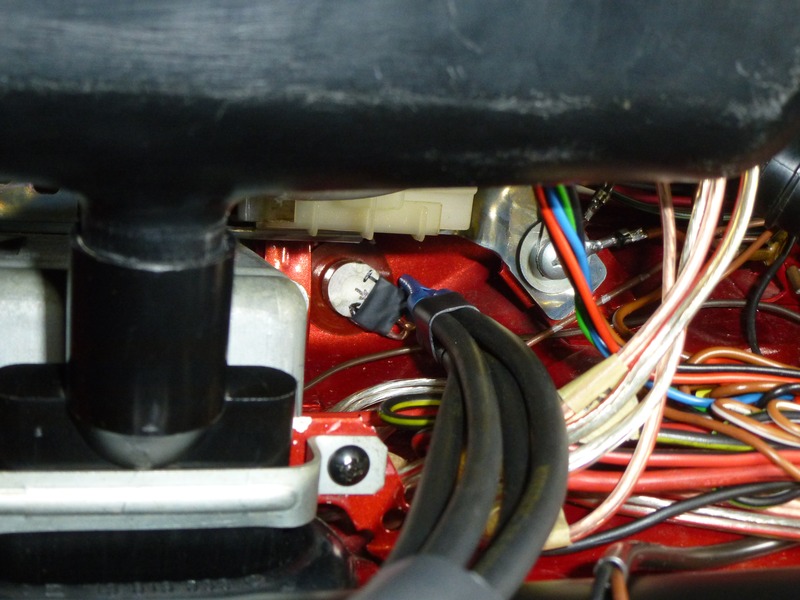
Finally hooked all cable connections up to finish the audio signal installation behind the dash.
Man, that was a tight fit and quite tricky to tuck away the RCA jacks between the ashtray and the head unit.

holy crap that's sleek! talk about a stealth install. 8-)

you never learn nothin by mistake if you're to careful.
bad decisions make good memories.

Zip tied an old bed sheet to the bottom side of the rear seat frame.
May be it prevents "contamination" of the woofer amp by the ever floating down crumbs of the coconut fiber pad. :roll:

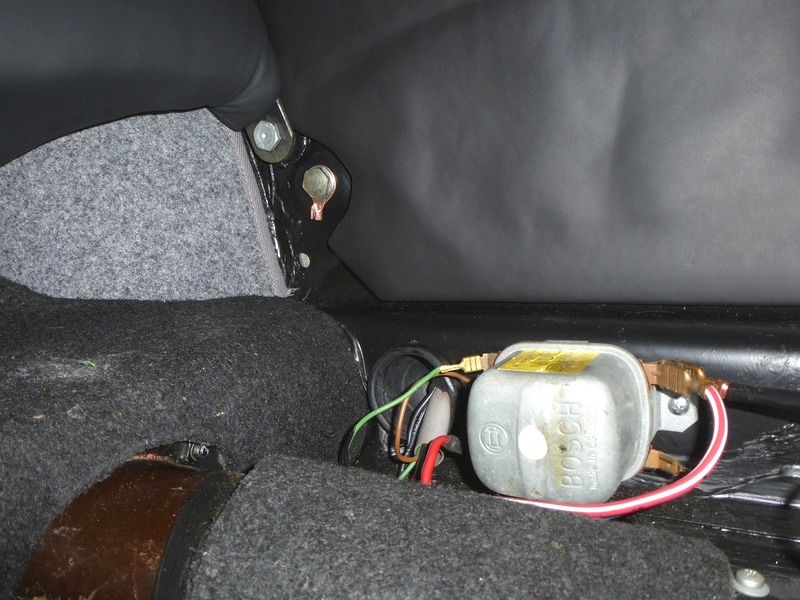
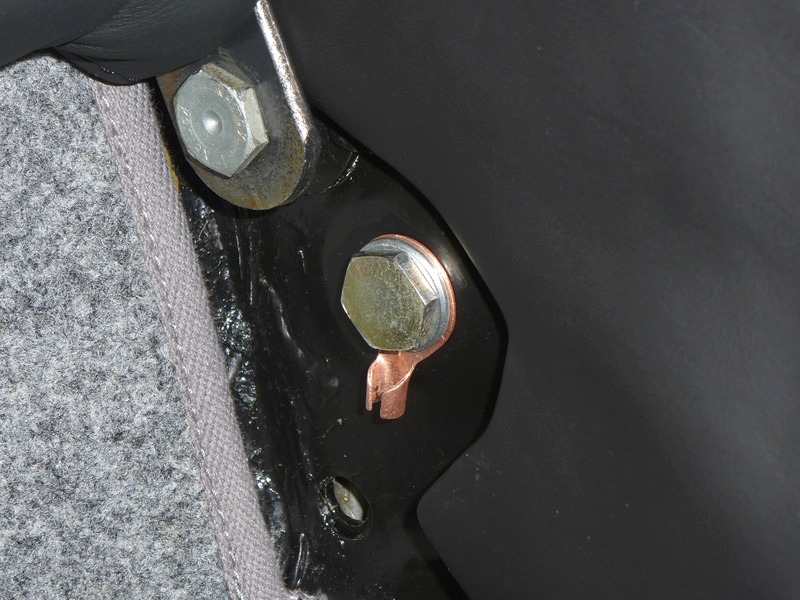
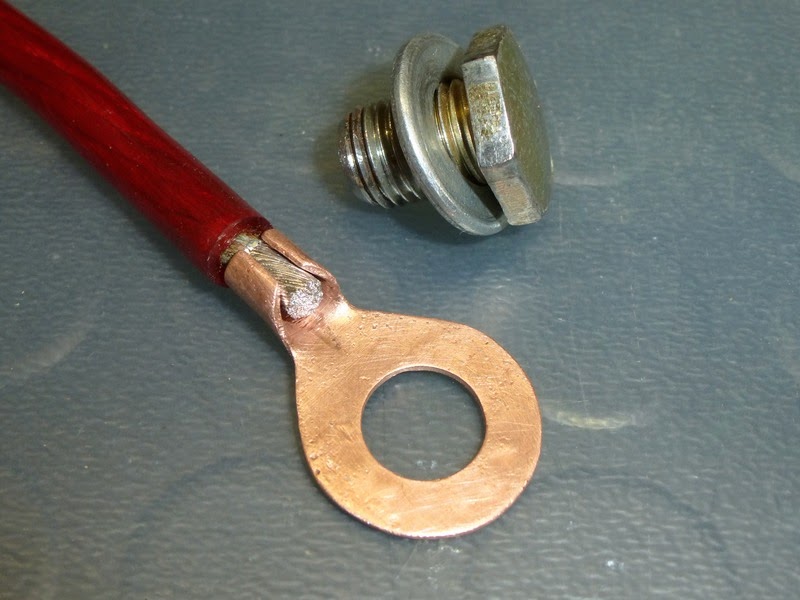
Home made ground wire eyelet for the woofer amp...

The stock rear seat belt screw hole should provide a sufficient ground connection I guess... :D

:shock:

you never learn nothin by mistake if you're to careful.
bad decisions make good memories.

Maddel wrote:

Home made ground wire eyelet for the woofer amp...

That looks simply incredible. Did you then bond them with solder, by crimping or both? I'd feel bad by squishing that work of art.

It's not connected yet but I like to solder the larger "special" eyelet and spade connectors. Easy to reuse this way.
I had a few used large eyelets at hand but non of them had a diameter large enough to fit the seat belt attachment bolt.
So I bit the bullet and tailored one...

Super slow progress on the woofer project. :?
Fixed the amp and hooked up the cable connections but still no battery in the car.
So testing and tuning the complete setup is still pending...

Back in the '70s some tuners over here in Germany (like Decker or Riechert) recommended removing
the duckbill valve from the crank case breather tube to improve venting when running dual carbs.

I didn't want an open tube down there so a few years ago I macgyvered sort of a vent plug using shrinking tube. :o
Well.. It works but I never really liked it...

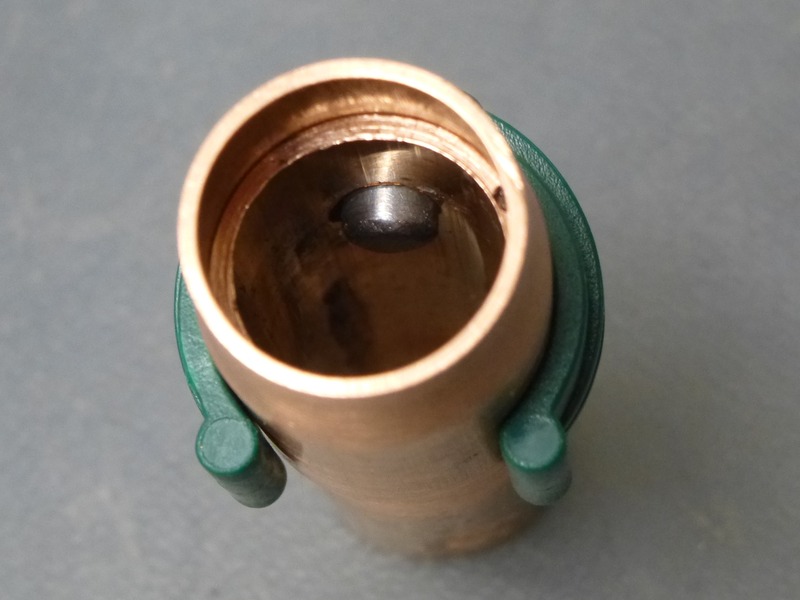
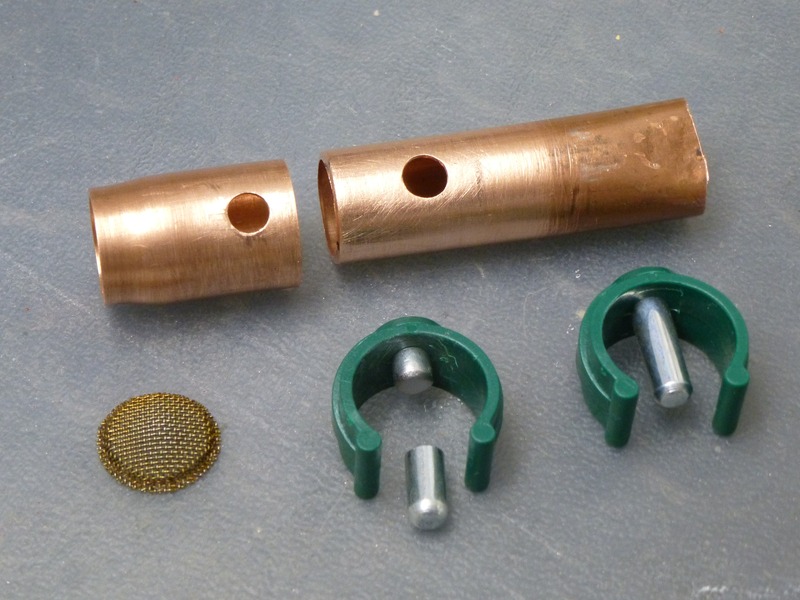
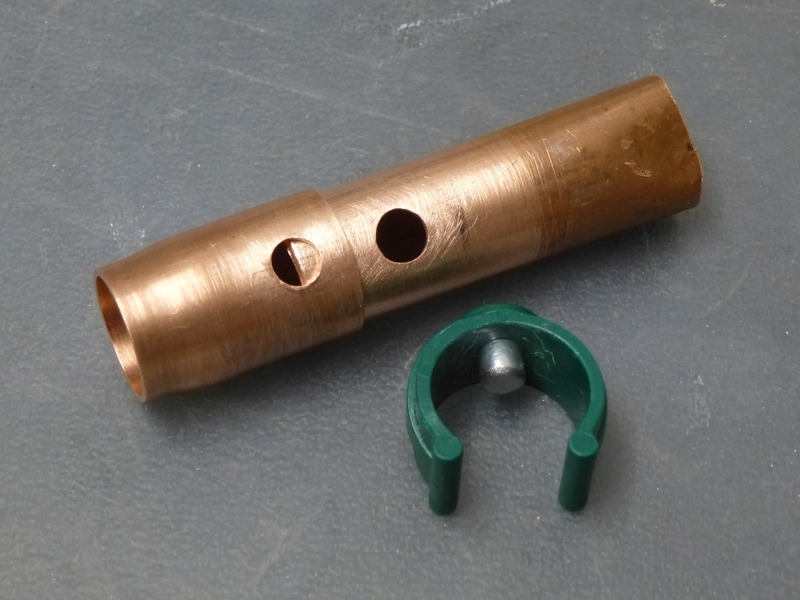
Lately I made this replacement using a scrap copper tube, a mesh screen of a leftover faucet aerator
and a locking pin clasp from adjustable elbow crutches...

I wonder how long the JB-welded mesh will hold up. :roll:
And yes that is overkill - but hey, I was bored... :lol:

:lol: i saw the first pic and thought "huh, that's good solution" :lol:
exactly how board were you? cause i get board to, but iv just got a rag zip tied over mine.

you never learn nothin by mistake if you're to careful.
bad decisions make good memories.

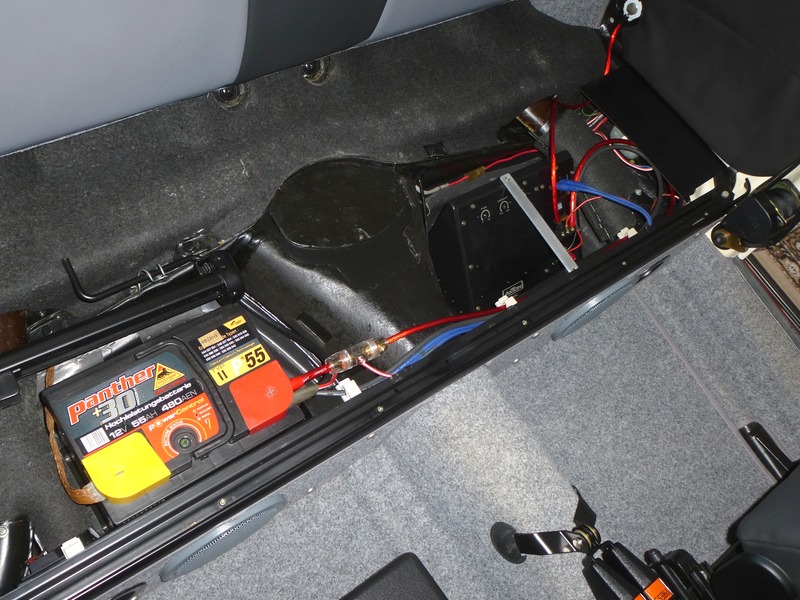
Finally... Battery back in and basic woofer setup done...

=0

Temporary glued a toothpick to the phase shift control so that I could reach back and do adjustments while driving...

Conclusion...
I'm glad this project is done at long last. The system's sound is better than expected.
That little woofer produces some astonishing "oomph". Even the rear mirror shakes at higher sound levels. 8-)
The down side is that my Bug's interior noise is ridiculous. :?
At 50 mph it starts to get really loud due to the dual carbs and the deep tuned Sebring exhaust.
Additional loud music will not add to the recreational experience... :D
Anyway, back in the day I would have loved it! "Everything Louder than Everyone Else"

In other news:
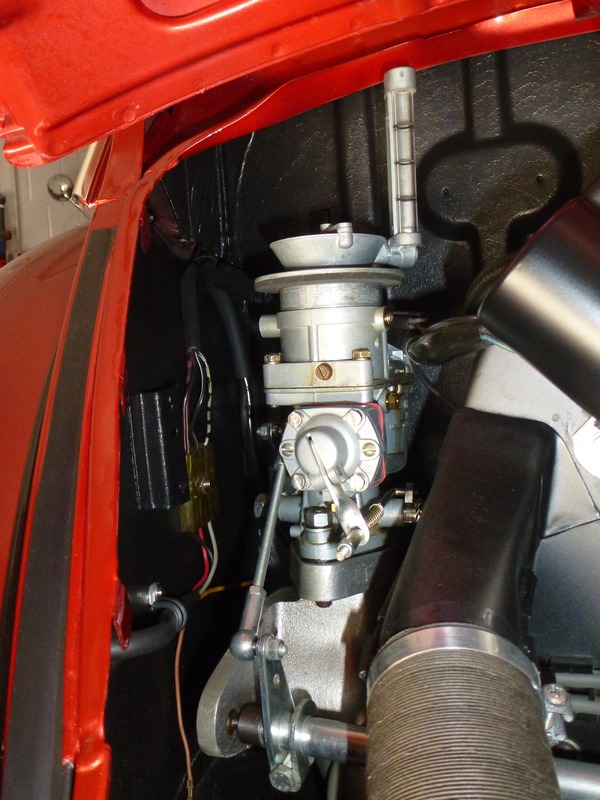
Distributor maintenance and static timing check...

Carb syncing & adjustment...

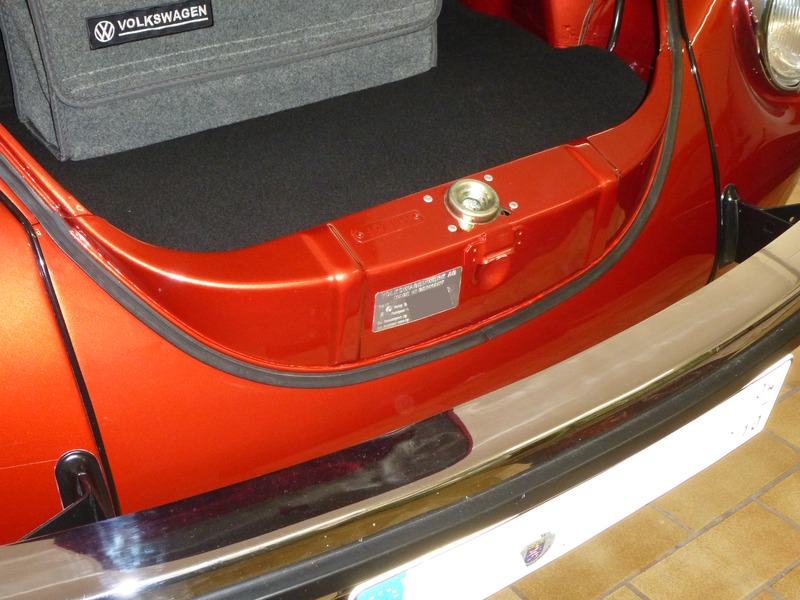
While drying the trunk seal area after a wash I noticed some red paint chips on the chamois leather. :?
Well, the paint job was done some 33 years ago so here's the inevitable rust attack...

That area in May 1989. May be I didn't go the whole nine yards... :roll:

As expected after some scratching the whole extent came to the fore...

After more careful scratching, sanding, grinding and some final rust converter treatment...

A coat of primer was applied...

Red and clear touch up paint will be put on as soon the weather warms up in spring.
Man, there is always something...

I think it's super tough to get any rust out from between that pinchstrip and the body. I remember when I was working with body shops, they would remove them, treat the surface underneath and install new. The guy said otherwise it would always come back.

That being said, you made it almost 35 years, I don't think I would expect much more from the area than that. That's a good run :)

schwim wrote:

... That being said, you made it almost 35 years, I don't think I would expect much more from the area than that. That's a good run :)

Yeah a good run. But the car has a relatively low mileage and was rarely exposed to foul weather.
Over here on an all season daily that seal channel would have vanished long ago...
Amongst other parts of course. :lol:

If my inexpert efforts last for let's say another 20 years I'm more than happy.
But if wishes were horses, beggars would ride. :)

Maddel wrote:

But if wishes were horses, beggars would ride. :)

Or, as my family liked to say; if frogs had wings, they wouldn't bump their butts when they jumped.

Some red paint applied, a second layer may follow before the clear coat...

Finally, added a speaker grille to the woofer...

paint looks like a damn good match

you never learn nothin by mistake if you're to careful.
bad decisions make good memories.

Second layer of red and final clear coat applied.
This special effect color is somewhat unsuitable for touch up application. :?
So the result is not perfect...

But since the affected area is covered by the seal it doesn't bother me... ;)

Put the battery back in and went for a spin...

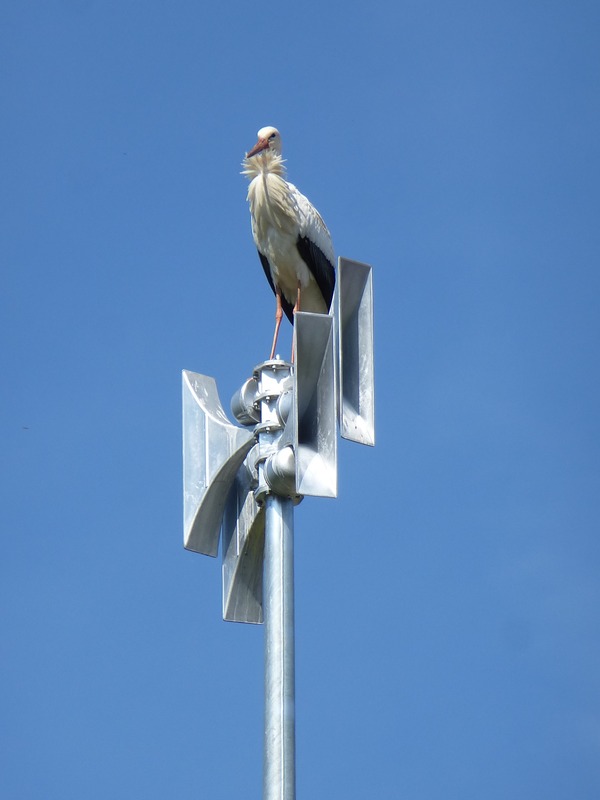
On my way back I spotted this guy on a siren pole nearby...

And finally - according to the principle "there's always something" -
I noticed two drops of transmission fluid on the garage floor the other day... :evil:

it does look darker, at least in the pic's. but the hood seal helps hide it and blend. at least in the pic's. i wouldn't complain if it were my car.

you never learn nothin by mistake if you're to careful.
bad decisions make good memories.

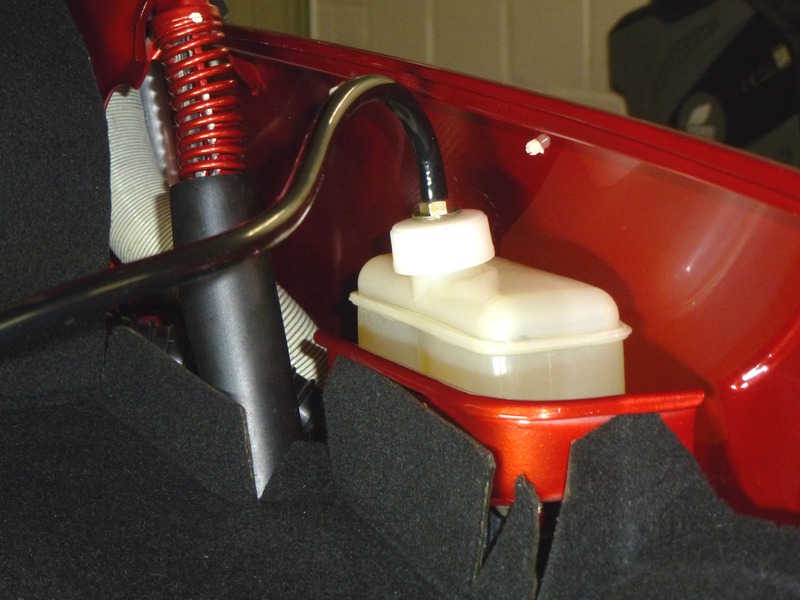
Brake fluid service with a home made redneck pressure bleeder...

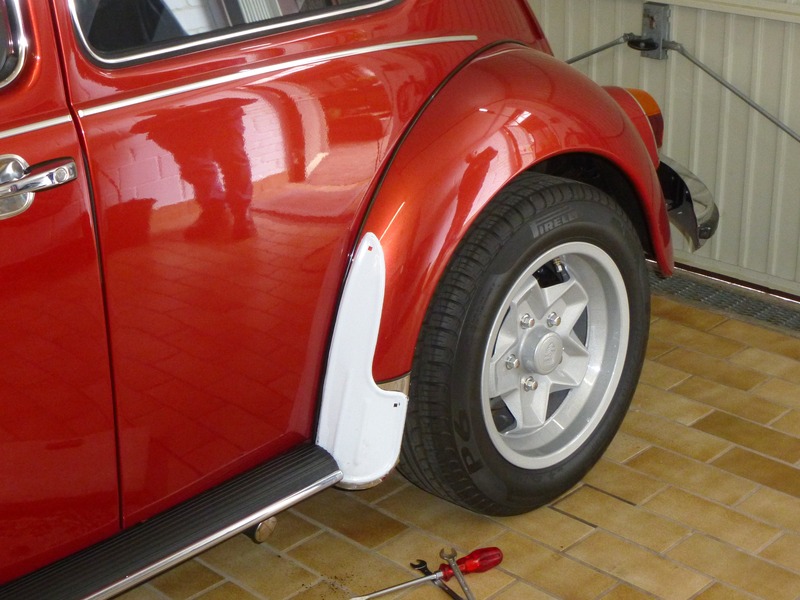
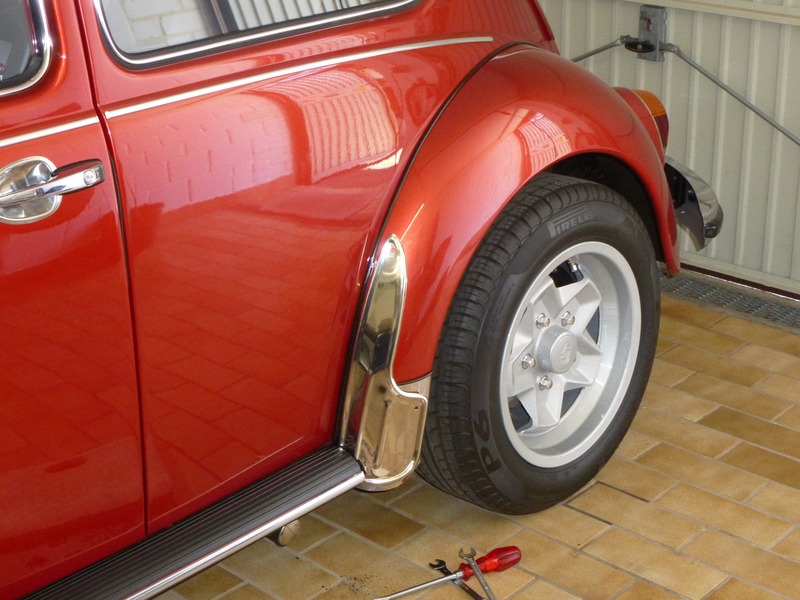
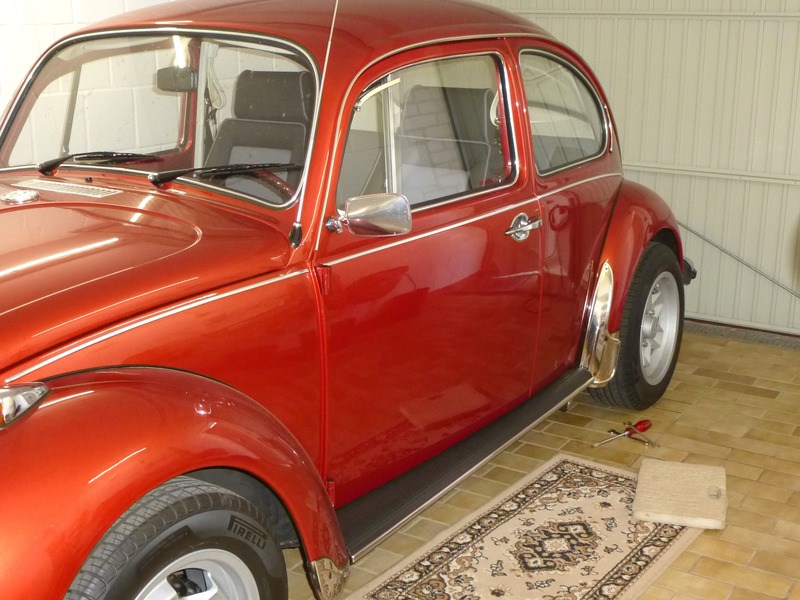
Slipped this large gravel guard on just to check the looks.
Well... I'm not yet sure if I like the appearance. :?
Plus they need quite some "massage" to gain a proper fit since they
are EMPI and I'm not willing to drill any holes in the fender. :evil:

Buddy took cover from a sudden downpour.
I'm consistently amazed by American agricultural machinery... :lol:

if it works is it really a bad idea?

you never learn nothin by mistake if you're to careful.
bad decisions make good memories.

Log in to reply.